

Overview
Before beginning the process of installing an NSS Parallels instance on your workstation, you must have been provided credentials by NextStep Support. If your display scaling is set to something other than 100%, the NSS Parallels installer may not display properly and be difficult to view. Once the install is complete, Parallels and NSS will operate and display properly.
This article goes over how to:
Install NextStep Parallels for Windows
- Download the NextStep Parallels Installer: https://ras.nsdesktop.com/userportal/download
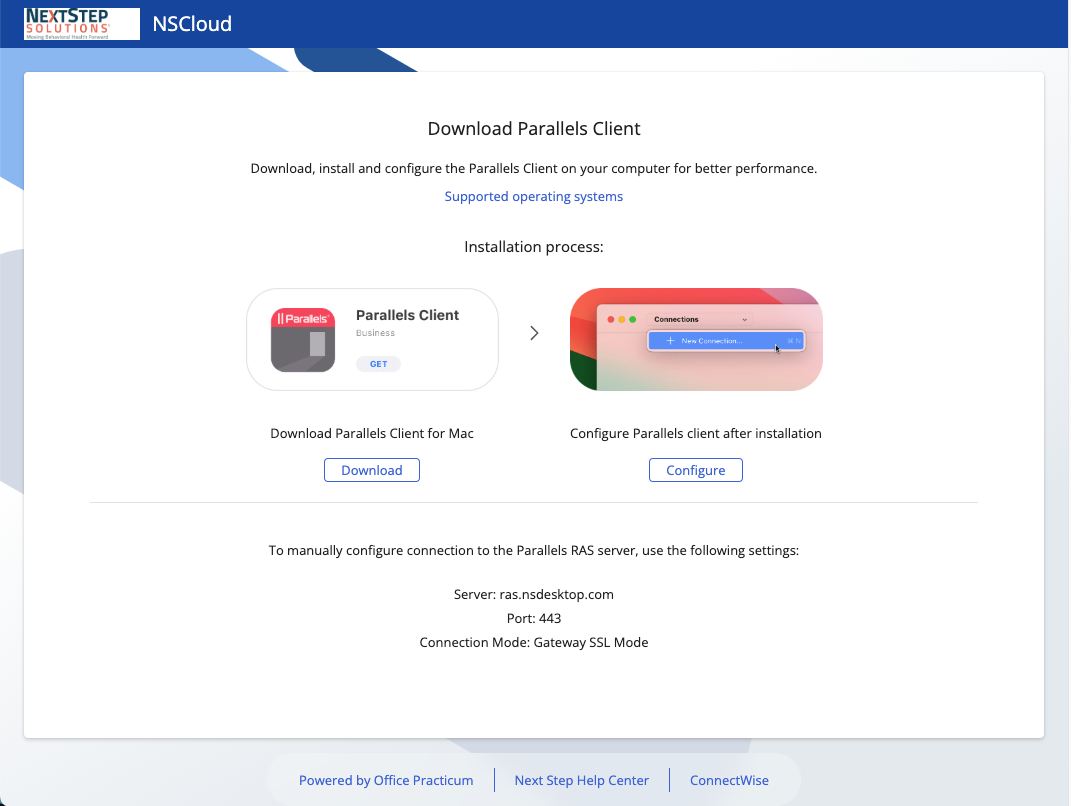
- Run the installer. You may be required to enter you computer's Admin login and password to continue.
- Launch Parallels (this will be the last step of the installer)
- Create a connection
- Enter ras.nsdektop.com as the server address.
- Click Create

- Enter the login information provided by NextStep and click Connect. The login name is typically your agency name followed by a number.


- The Parallels client will list any applications your login may access, e.g. Billing. Double click the application to run it.
Install NextStep Parallels for Mac
- Download the app Parallels Client from the App Store. It is a free application and can be found by opening the App Store and typing Parallels Client into the search engine.

- Open the Parallels Client application.
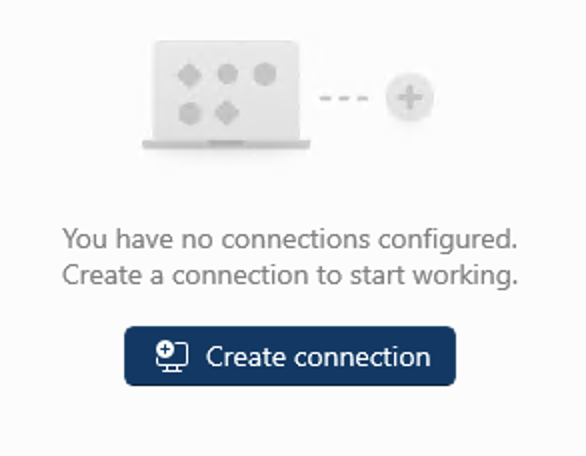
- The Parallels Client will display a message informing that you have no connections configured. Click Add to configure a new connection.

- Select the option for Parallels Remote Application Server.

- Click Advanced Settings at the bottom of the window.

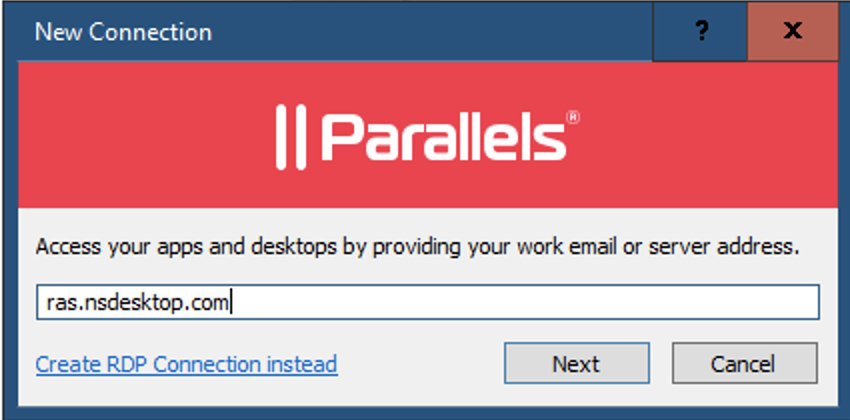
- On the Connection tab, fill in the required fields with the following information:
- Primary Connection: ras.nsdesktop.com
- Mode: Gateway SSL Mode
- Port: 443
- Friendly Name: NextStep Billing and/or NextStep Scheduling
- Logon Automatically: Deselect the checkbox.
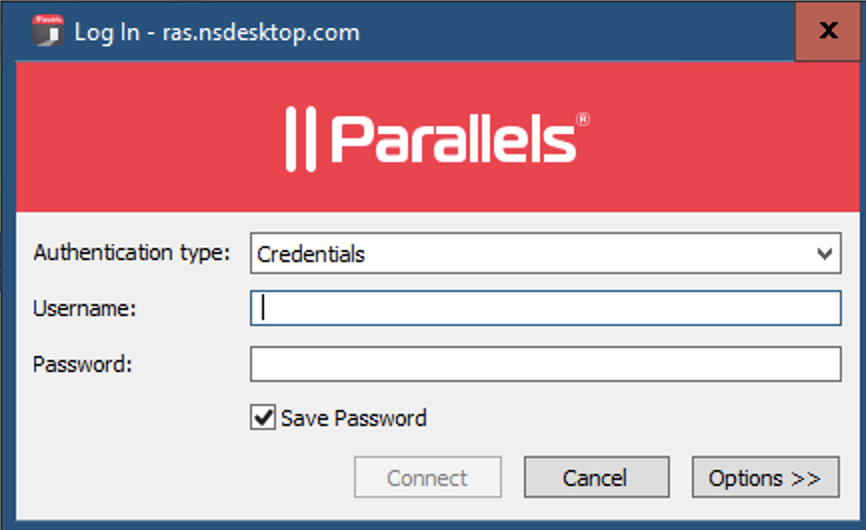
- Username and Password: These are supplied by NextStep Support or your Adminstration team.
- Save Password: Select the checkbox
- Domain: nscloud

- Click the OK button once the information is entered.
- The icon is displayed with the friendly name you entered above. Double-click the icon to authenticate and gain access to your NextStep instance.
- Please confirm that this works for your connections, and please provide any feedback that you have for these instructions.